The Complete Guide to Trigger 'Nades in Arc Raiders
How the Trigger 'Nade works in Arc Raiders, why two guarantees a kill, extraction ambush setups, PvE combos, what the Patch 1.11.0 + 1.26.0 nerfs changed, and how it compares to every other grenade.
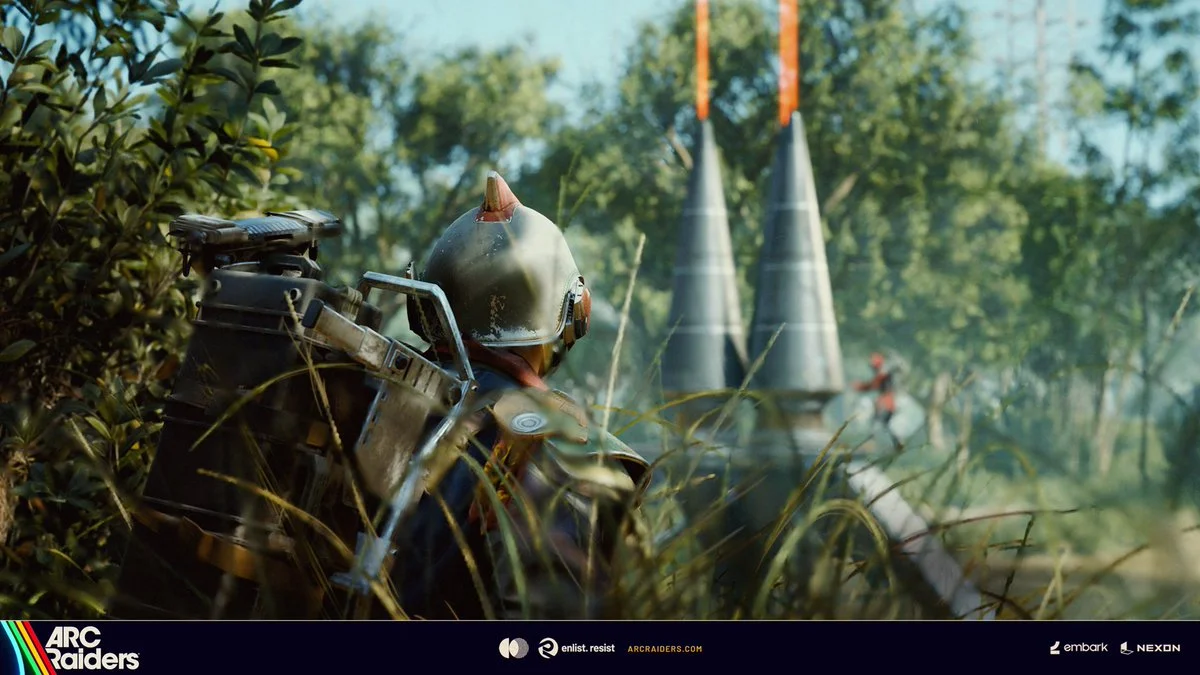
The Trigger ‘Nade is a remote-detonated sticky explosive that deals 90 damage inside a 7.5m blast radius, and you control exactly when it goes off. It’s been nerfed twice — first in Patch 1.11.0 (January 2026) and then again in the Riven Tides 1.26.0 update (April 2026) — but it’s still the go-to PvP grenade because no other throwable in Arc Raiders gives you that kind of timing control. Two of them will knock down any Raider regardless of shield tier.
Patch 1.26.0 nerfs — what’s different now
The Riven Tides update layered on three new restrictions that fundamentally change how the nade plays:
- 1-second post-throw delay — you can’t trigger detonation for the first second after the nade leaves your hand
- 1.3-second post-trigger lockout — after you press detonate, you’re locked out of throwing or triggering again for 1.3 seconds
- Hard lock on simultaneous throw + trigger — the old “throw and instantly tap detonate” combo is gone
Stack those on top of the 1.11.0 changes and mid-air bursts are no longer viable — by the time the lockouts clear, the nade has stuck and the target has moved. The grenade’s identity has shifted hard toward pre-placed trap play. Throwing reactively into an active firefight is essentially dead.
The community response by May 2026 had solidified into “the nerf still wasn’t enough” with a chunk of players calling for a full redesign. Trap effectiveness took a noticeable hit too because the 1.3s lockout gives reactive opponents a window to break line-of-sight or pop a shield.
How the Trigger ‘Nade actually works
The Trigger ‘Nade has no proximity fuse and no auto-detonation timer. You throw it, it sticks to whatever it hits (walls, doors, trees, the ground, ARC bodies), and it sits there until you detonate it.
To detonate, keep the Trigger ‘Nade selected in your Quick Use slot and press your aim input (right-click on PC, left trigger on controller). Every placed Trigger ‘Nade you own detonates together the moment you trigger. (The 1.3-second post-trigger window is a lockout on your next throw or trigger, not a fuse on the blast itself.) If you swapped to a weapon mid-fight, reselect the Trigger ‘Nade in Quick Use and the aim input will detonate your already-placed nades instead of preparing a new throw. This swap-back mechanic trips up newer players constantly.
There’s one secondary detonation method: chain reactions. Any explosion whose radius overlaps a placed Trigger ‘Nade (a Rocketeer blast, another grenade, a Synthesized Fuel canister) will set it off — and chains bypass the post-trigger delay. They can’t be reliably shot with bullets, and if the owner dies, surviving nades stay inert unless chain-detonated.
| Stat | Value |
|---|---|
| Damage | 90 |
| Blast radius | 7.5m |
| Weight | 0.4 |
| Stack size | 3 |
| Rarity | Rare |
| Post-throw lockout | 1.0s (post-Patch 1.26.0) |
| Post-trigger delay | 1.3s (post-Patch 1.26.0) |
| Mid-air burst window | None — stacked lockouts make it impractical |
Armed Trigger ‘Nades have a blinking orange light and emit an electronic beep, so experienced players can spot them. Keep this in mind when placing traps.
Two nades, one kill: the PvP math
One Trigger ‘Nade deals 90 damage. Any shielded Raider survives that. Two deal 180, which knocks down any Raider regardless of shield tier or health buffs. Since all placed nades detonate at once, stacking two in the same spot is a reliable one-press kill. Always commit two per target.
Extraction ambushes are still where the Trigger ‘Nade gets the most use. Stick one or two directly on the extract call button, hold nearby cover, and detonate when an enemy team reaches for the button. A triangle placement pattern around the extraction zone (nades at three points) covers multiple approach angles. Night raids are especially effective for this since hatch keys are disabled and all players have to use elevators.
One thing that’s changed: the Photoelectric Cloak + extraction camp combo took a hit in 1.26.0. The cloak’s weight tripled (1 → 3 kg) and its power consumption was increased, so you can’t carry as many cloaks per raid and they don’t last as long once active. Cloak-camping at extracts still works, just with a higher cost and a tighter timing window — pair it with the Trigger ‘Nade trap rather than relying on cloak alone.
For active combat, the pre-nerf playstyle of throwing and detonating mid-air is dead now because of the stacked 1.0s + 1.3s delays from the two patches. The adapted approach focuses entirely on pre-placement: stick a nade on a doorway edge before enemies push through, place one on a wall corner as you retreat through a corridor, or set them up on choke points inside buildings on maps like Stella Montis. The pattern is always: place, reposition, trigger — and trigger early to account for the 1.3s lockout.
Solo players still get a lot out of Trigger ‘Nades. Against a pursuing squad, the “running trap” works well: stick a nade on the wall as you sprint past a hallway, keep running, and trigger as the chasers approach the placement (not when they’re already on it — the 1.3s delay matters). It’s one of the few tools that lets a solo player reliably take out a grouped squad.
PvE applications and grenade combos
Trigger ‘Nades work against ARC too, including during Close Scrutiny encounters. Against large ARC units like Bastions and the new Riven Tides Turbine, have a teammate draw ARC attention while you flank, stick two nades on rear vents or weak points, retreat, and detonate during a vulnerable animation. Against drone clusters, toss a nade into the center of a hovering group before they scatter and detonate to clear three or four without spending ammo. The 1.3s post-trigger delay is less of a problem against ARC since they don’t dodge.
The strongest combos pair the Trigger ‘Nade with control items:
- Jolt Mine + Trigger ‘Nade: the Jolt Mine’s stun (community-timed around 4 seconds) holds the target through the post-trigger lockout
- Gas Grenade + Trigger ‘Nade: gas steadily drains stamina (community-timed near 25/second), preventing enemies from sprinting out of the blast radius before detonation fires
- Smoke Grenade + Trigger ‘Nade: smoke hides your nade placement, and enemies pushing through the cloud walk into the trap
In squads, multiple players can throw Trigger ‘Nades into the same 7.5m zone and detonate simultaneously to wipe an entire enemy squad in one press.
What the nerfs actually changed
Patch 1.11.0 (January 2026) — first nerf. Embark stated the grenade “dominates PvP encounters” and players “favour picking it over all other grenades.” The detonation delay went from 0.7s to 1.5s and damage falloff was steepened so blast-edge damage dropped while center damage stayed at 90. The goal was to kill the trigger-in-air playstyle while keeping the sticky bomb identity.
Patch 1.26.0 (April 2026, Riven Tides) — second nerf. Embark cited the same dynamic still being a problem and added the new mechanic-level locks: a 1.0s post-throw window before triggering is even allowed, plus a 1.3s post-trigger delay before the explosion fires. Together these break the “throw + trigger” combo entirely and slow trap reactions enough that opponents have time to escape if they spot the placement.
Community reaction has been more frustrated than mixed — by May 2026 the Reddit consensus had solidified into “the nerfs still aren’t enough” with calls for a full redesign rather than further numerical tweaks. Despite that, the Trigger ‘Nade is still the strongest PvP grenade in the game, just by a smaller margin. It’s the only one with full remote detonation control, and that mechanic alone keeps it at the top.
How it compares to every other grenade
Arc Raiders has 15 craftable grenades plus scavenged throwables. Here’s where the Trigger ‘Nade fits.
The Heavy Fuze Grenade (80 damage, 3-second fuse) is the closest alternative for raw damage. It bounces around corners and requires no manual triggering, making it easier for reactive throws, but you give up all timing control. The Snap Blast (70 damage, sticky + auto-timed) is a solid budget option. The Bison Driver hits hardest at 100 damage with a 10m radius, but it’s loot-only and can’t be crafted. Shrapnel (60 damage) and Light Impact (30 damage) are weaker options for PvP.
For PvE, the Wolfpack is in a different category: 12 homing missiles dealing 166 damage each, built for large ARC units. But the missiles ignore players entirely, so it has no PvP use. The Blaze Grenade is better for area denial with 10 seconds of fire. The Showstopper provides a 10-second ARC stun for group encounters. None of these overlap with the Trigger ‘Nade’s PvP role because none have manual detonation.
The recommended PvP loadout across most community guides: Trigger ‘Nade + Smoke Grenade + Jolt Mine.
Crafting and blueprint unlock
The Trigger ‘Nade blueprint comes from Apollo’s “Sparks Fly” quest, which requires killing a Hornet with a grenade. Once unlocked, crafting requires an Explosives Station II with 2x Crude Explosives and 1x Processor per stack of three. The resource cost is cheap compared to Wolfpacks or Deadline Mines, which is part of why players regularly bring 6-12 nades per raid. Check material costs in the Crafting Planner.
Store them in your Safe Pocket before deploying to protect them on death. Don’t recycle Trigger ‘Nades — the salvage value (1x Processor) isn’t worth the combat utility you lose, even with the 1.26.0 nerfs in play.
- 90 damage, 7.5m radius, full remote detonation control. No other grenade in the game has this
- Always use two. 180 damage guarantees a knockdown on any Raider regardless of shield tier
- Riven Tides 1.26.0 added a 1s post-throw lockout + 1.3s post-trigger delay. Mid-air bursts are now effectively impossible
- Pre-placed traps are the main way to get kills now: stick on doorways, walls, or extraction buttons, then bait into them
- Best PvP loadout: Trigger 'Nade + Smoke Grenade + Jolt Mine
- Blueprint from Apollo's Sparks Fly quest. Crafts at Explosives Station II for 2x Crude Explosives + 1x Processor
Explore Our Tools
More Articles

Anvil Splitter: What You Need to Know
What the Anvil Splitter actually does in Arc Raiders: the 4-pellet damage math, why it doesn't out-kill a bare Anvil on most targets, the Rocketeer Flipper trick that justifies keeping one, and how it stacks up against the Il Toro.
Arc Raiders Close Scrutiny: The Complete Guide
Everything you need to know about Close Scrutiny in Arc Raiders. How Assessors work, Vaporizer weak points, exclusive loot drops, solo strategies, and the loadout that covers all threats.

How Aggression-Based Matchmaking Actually Works in Arc Raiders
Complete breakdown of Arc Raiders' hidden ABMM system — what increases and decreases your aggression rating, how it affects matchmaking, the solo/trio bleed problem, and the exploit everyone knows about.