ARC Enemies
21 machines — drops, XP, and combat tips.
Notable DropsDamage to you & how to beat
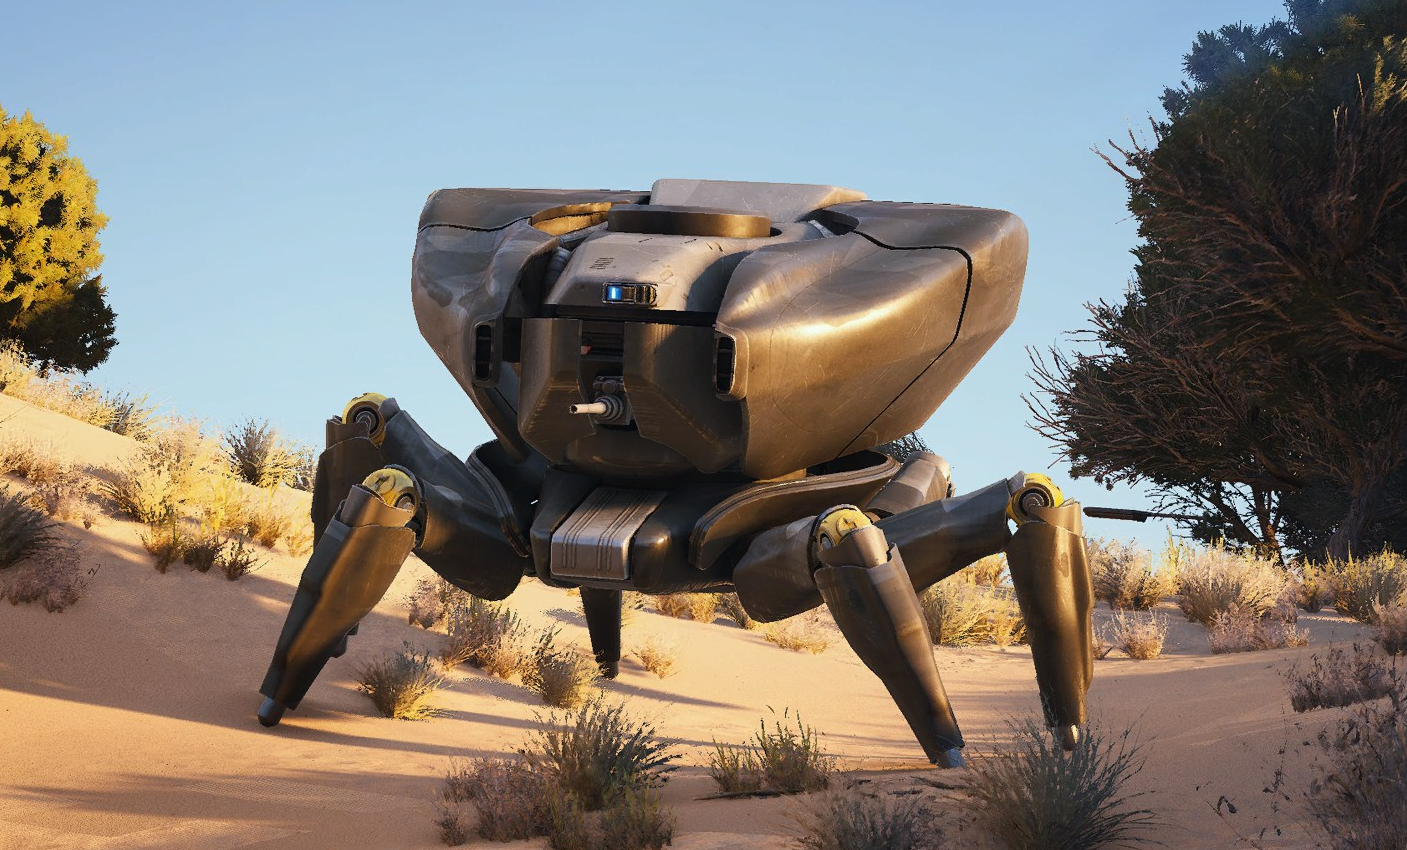
SizeLarge
Threatcritical
Health2,050
Armorheavy
- • Bastion Cell
- • ARC Powercell
- • Medium Ammo
- • ARC Alloy
- • Destroy: +500
- • Scavenge Core: +250
- • Scavenge Shell: +250
- • Scavenge Leg: +250
Damage to youA 3-second gatling stream turns an exposed Raider into Swiss cheese — break line of sight on the screech.
- • Stun with Hornet Drivers or Showstoppers renders it helpless
- • Deadline near canister is instant kill
- • Blaze and Snap Blast Grenades effective
Bastion
SizeLarge
Threatcritical
Health2,050
Armorheavy
Damage to you:A 3-second gatling stream turns an exposed Raider into Swiss cheese — break line of sight on the screech.
Drops
- • Bastion Cell
- • ARC Powercell
- • Medium Ammo
XP: 1250
- • Stun with Hornet Drivers or Showstoppers renders it helpless
- • Deadline near canister is instant kill
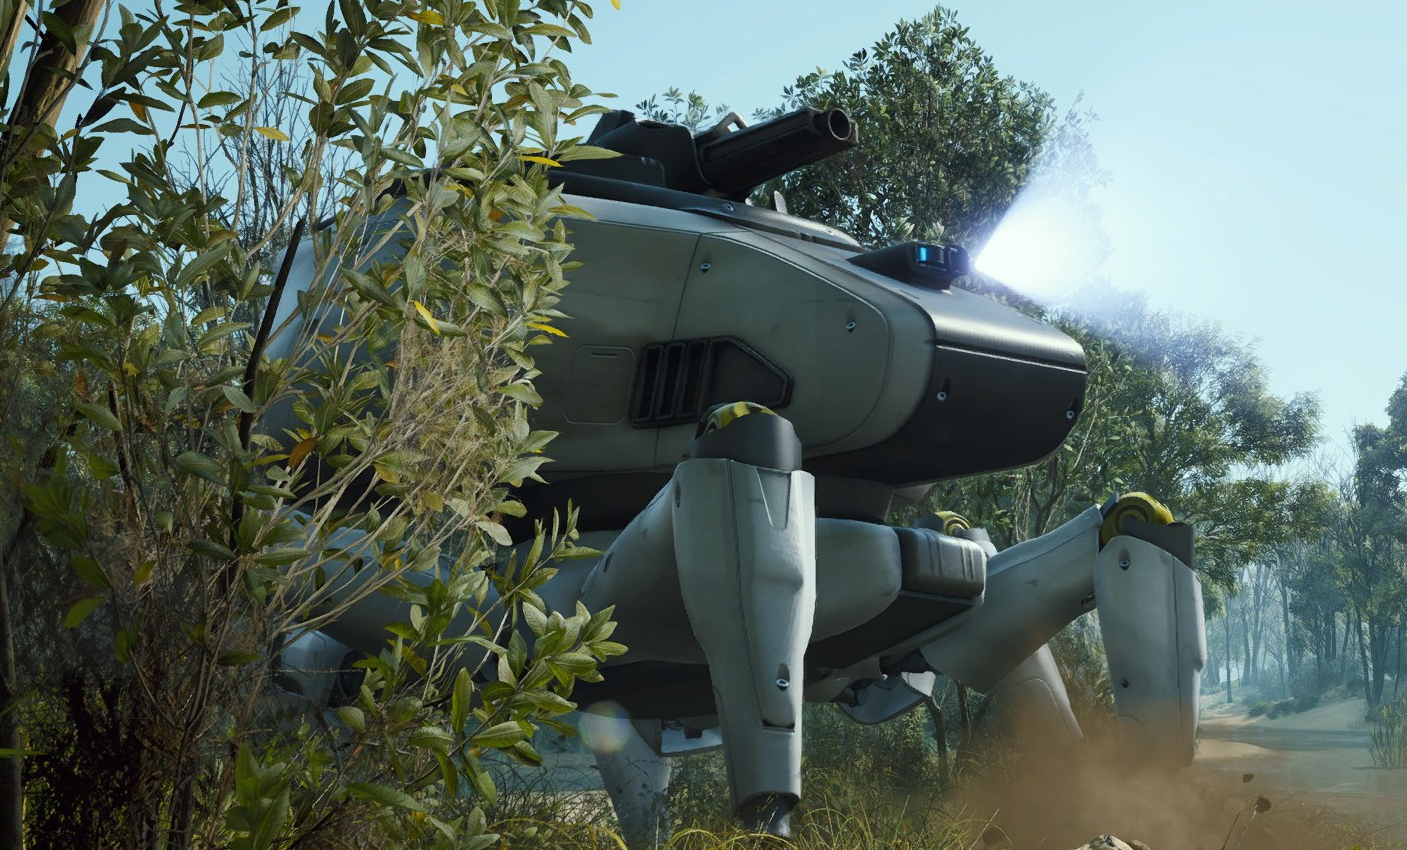
SizeLarge
Threatcritical
Health2,670
Armorlight
- • Bombardier Cell
- • ARC Powercell
- • ARC Alloy
- • Mechanical Components
- • Destroy: +500
- • Scavenge Core: +300
- • Scavenge Shell: +300
- • Scavenge Leg: +300
Damage to youLong-range mortar barrages with heavy splash — lethal if you stand still in the open.
- • One well-placed Deadline near canister destroys instantly
- • Eliminate Spotters first to disorient (but they respawn)
- • Most vulnerable immediately after firing
Bombardier
SizeLarge
Threatcritical
Health2,670
Armorlight
Damage to you:Long-range mortar barrages with heavy splash — lethal if you stand still in the open.
Drops
- • Bombardier Cell
- • ARC Powercell
- • ARC Alloy
XP: 1400
- • One well-placed Deadline near canister destroys instantly
- • Eliminate Spotters first to disorient (but they respawn)
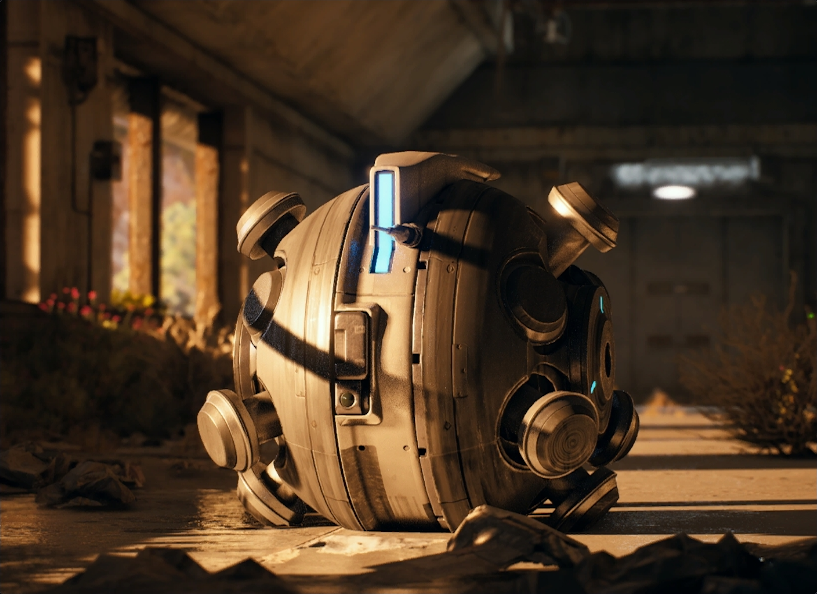
SizeSmall
Threathigh
Health150
Armorheavy
- • Comet Igniter
- • ARC Alloy
- • Crude Explosives
- • Advanced ARC Powercell
- • Destroy: +100
- • Scavenge Core: +200
- • Scavenge Ring: +200
Damage to youA failed kill triggers a shockwave that drops a full light shield to roughly a quarter charge.
- • Failed destruction causes shockwave reducing shields to ~25%
- • Keep distance and aim for exposed core
Comet
SizeSmall
Threathigh
Health150
Armorheavy
Damage to you:A failed kill triggers a shockwave that drops a full light shield to roughly a quarter charge.
Drops
- • Comet Igniter
- • ARC Alloy
- • Crude Explosives
XP: 500
- • Failed destruction causes shockwave reducing shields to ~25%
- • Keep distance and aim for exposed core
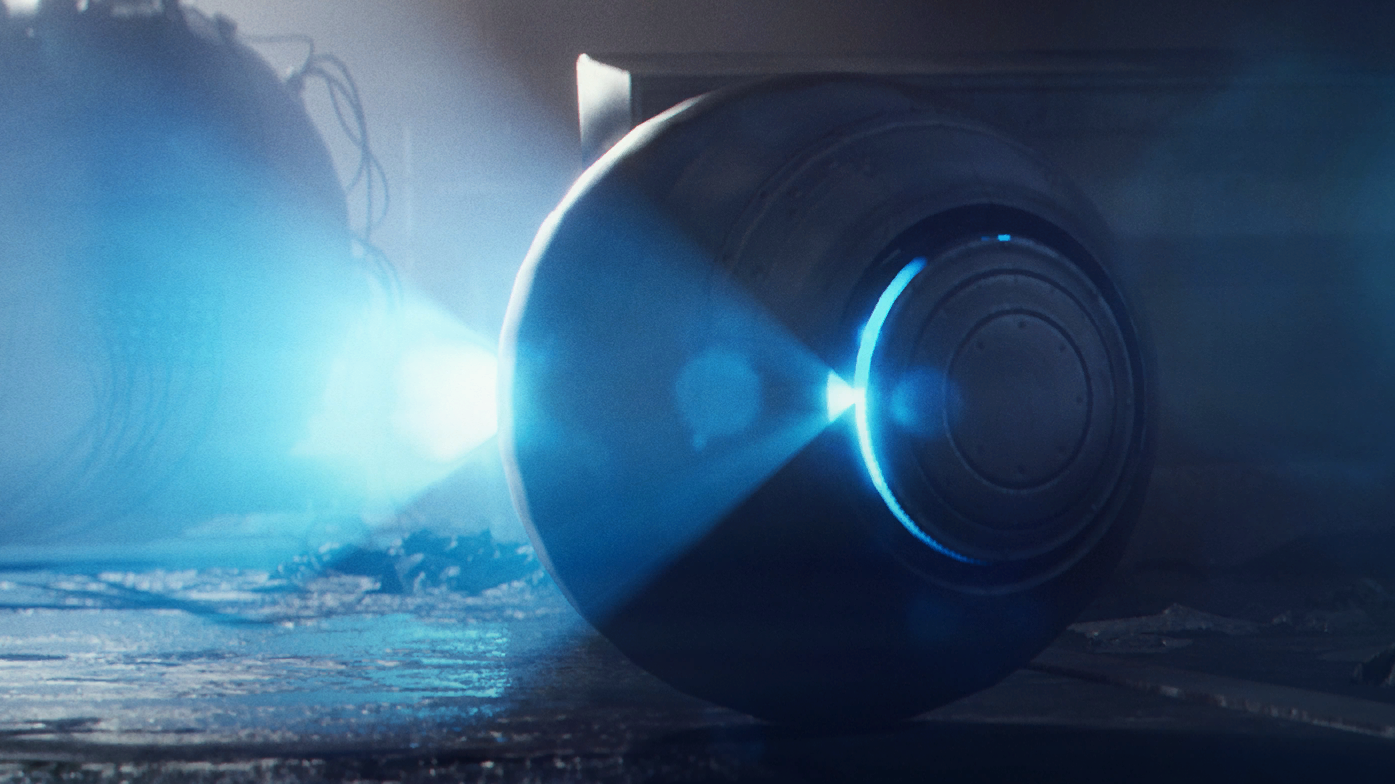
SizeSmall
Threatmoderate
Health20
Armorheavy
- • Fireball Burner
- • ARC Powercell
- • ARC Alloy
- • Crude Explosives
- • Destroy: +100
- • Scavenge Core: +200
Damage to youSerious damage if you're caught in the flames, plus a lingering burn.
- • Run after killing — coats surroundings in fire when destroyed
- • Wait for panel to open before shooting
Fireball
SizeSmall
Threatmoderate
Health20
Armorheavy
Damage to you:Serious damage if you're caught in the flames, plus a lingering burn.
Drops
- • Fireball Burner
- • ARC Powercell
- • ARC Alloy
XP: 300
- • Run after killing — coats surroundings in fire when destroyed
- • Wait for panel to open before shooting
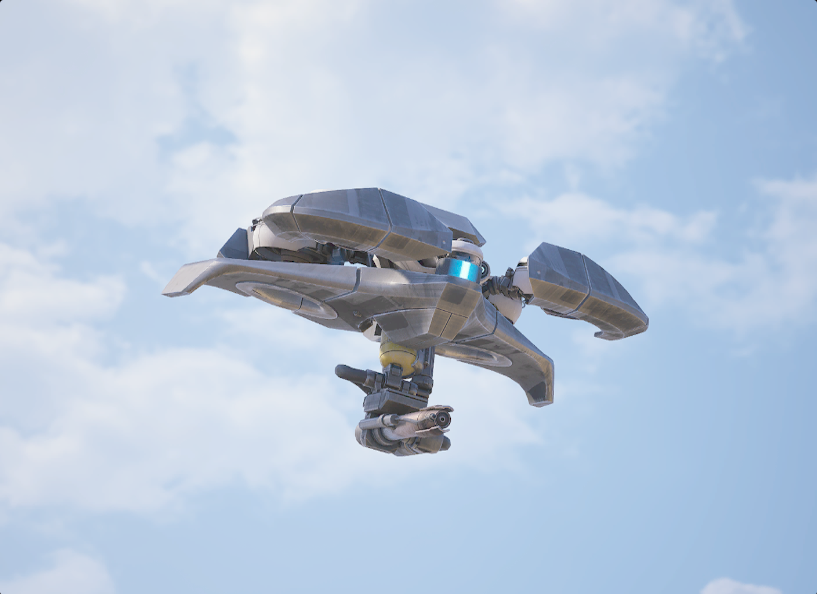
SizeMedium
Threathigh
Health200
Armorheavy
- • Firefly Burner
- • ARC Powercell
- • Chemicals
- • ARC Alloy
- • Destroy: +150
- • Scavenge Chassis: +250
Damage to youClose-range flamethrower that scorches and deals damage over time within range.
- • Gas release is your audio warning — dodge immediately
- • Distinct flight profile from fuel tank helps identification
Firefly
SizeMedium
Threathigh
Health200
Armorheavy
Damage to you:Close-range flamethrower that scorches and deals damage over time within range.
Drops
- • Firefly Burner
- • ARC Powercell
- • Chemicals
XP: 400
- • Gas release is your audio warning — dodge immediately
- • Distinct flight profile from fuel tank helps identification
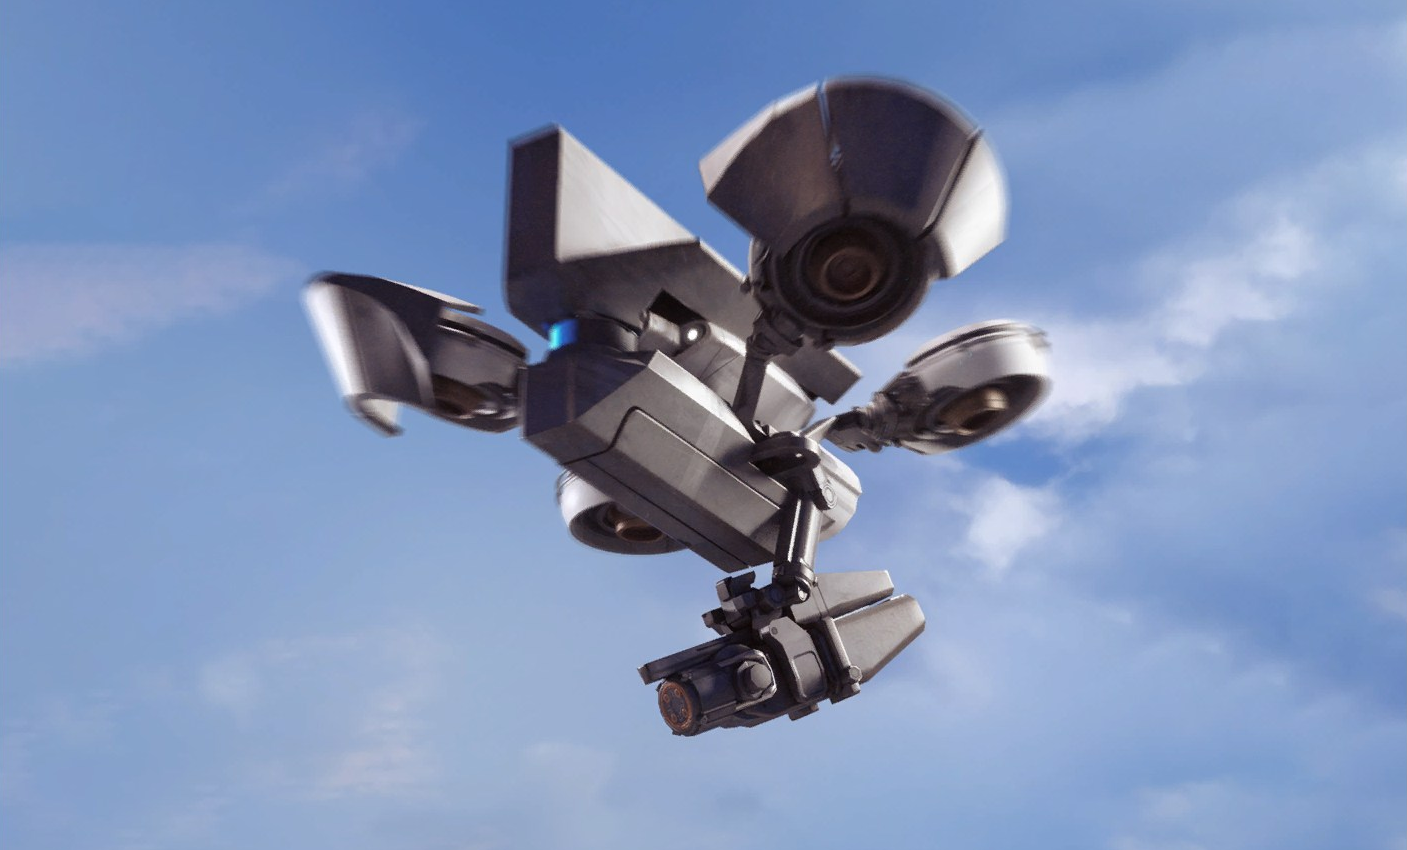
SizeMedium
Threathigh
Health200
Armorlight
- • Hornet Driver
- • ARC Powercell
- • Medium Ammo
- • ARC Alloy
- • Destroy: +150
- • Scavenge Chassis: +250
Damage to youStun round briefly stuns you and drains shields; the projectiles are slow and dodgeable.
- • Good source of Medium Ammo
- • Dodge the slow stun rounds
Hornet
SizeMedium
Threathigh
Health200
Armorlight
Damage to you:Stun round briefly stuns you and drains shields; the projectiles are slow and dodgeable.
Drops
- • Hornet Driver
- • ARC Powercell
- • Medium Ammo
XP: 400
- • Good source of Medium Ammo
- • Dodge the slow stun rounds

SizeLarge
Threatcritical
Health1,100
Armorheavy
- • Leaper Pulse Unit
- • ARC Alloy
- • Mechanical Components
- • Advanced ARC Powercell
- • Destroy: +500
- • Scavenge Eye: +600
- • Scavenge Leg: +500
Damage to youHeavy damage from its leap and shockwave even without a direct hit — keep moving and stay spread out.
- • Blaze Grenades are cheap and effective — throw one, wait for burn, throw another, finish with 1-2 Heavy Ammo shots
- • Stun weapons render it helpless
- • Wolfpack Grenades recommended
Leaper
SizeLarge
Threatcritical
Health1,100
Armorheavy
Damage to you:Heavy damage from its leap and shockwave even without a direct hit — keep moving and stay spread out.
Drops
- • Leaper Pulse Unit
- • ARC Alloy
- • Mechanical Components
XP: 1600
- • Blaze Grenades are cheap and effective — throw one, wait for burn, throw another, finish with 1-2 Heavy Ammo shots
- • Stun weapons render it helpless

SizeBoss
Threatextreme
Health—
Armorheavy
- • Matriarch Reactor
- • Advanced ARC Powercell
- • ARC Alloy
- • ARC Circuitry
- • Destroy: +1000
- • Scavenge Core: +1000
- • Scavenge Leg: +500
Damage to youMissile swarms, leg stomps and gas — individually a decent amount of damage, overwhelming in combination.
- • Energy shield is impervious for ~1 minute — wait it out
- • High-ground positions recommended: Spaceport Control Tower, Dam Substation, Blue Gate Reinforced Reception
- • Full squad recommended
Matriarch
SizeBoss
Threatextreme
Health—
Armorheavy
Damage to you:Missile swarms, leg stomps and gas — individually a decent amount of damage, overwhelming in combination.
Drops
- • Matriarch Reactor
- • Advanced ARC Powercell
- • ARC Alloy
XP: 2500
- • Energy shield is impervious for ~1 minute — wait it out
- • High-ground positions recommended: Spaceport Control Tower, Dam Substation, Blue Gate Reinforced Reception
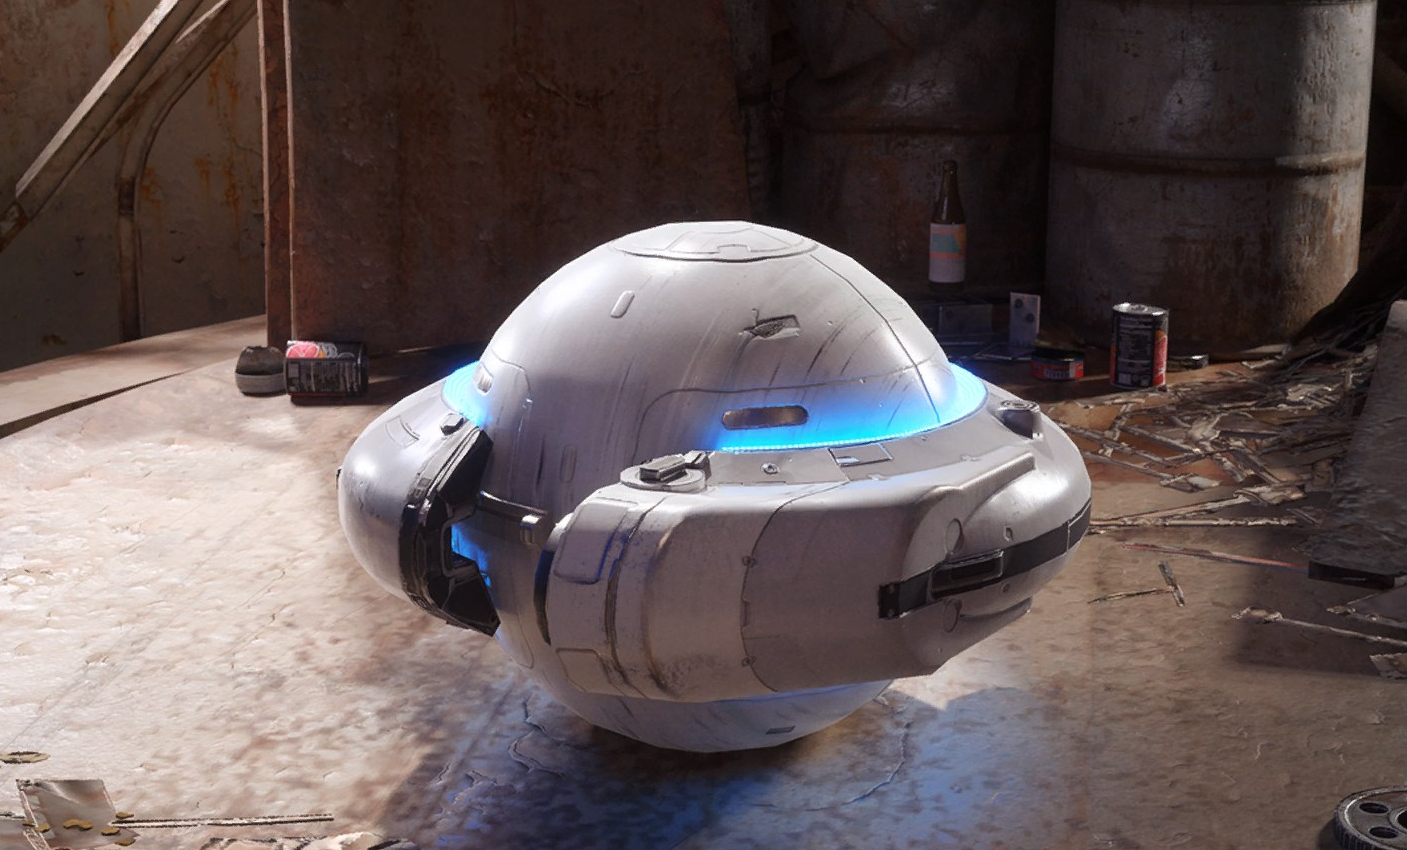
SizeSmall
Threatmoderate
Health20
ArmorNone
- • Pop Trigger
- • ARC Powercell
- • ARC Alloy
- • Crude Explosives
- • Destroy: +50
- • Scavenge Ring: +100
Damage to youDetonates on contact for significant damage to both shields and health within the blast radius.
- • Beeping frequency increases as it approaches — listen for the tempo change
- • Get on higher ground to avoid
Pop
SizeSmall
Threatmoderate
Health20
ArmorNone
Damage to you:Detonates on contact for significant damage to both shields and health within the blast radius.
Drops
- • Pop Trigger
- • ARC Powercell
- • ARC Alloy
XP: 150
- • Beeping frequency increases as it approaches — listen for the tempo change
- • Get on higher ground to avoid

SizeBoss
Threatextreme
Health33,864
Armorheavy
- • Queen Reactor
- • Advanced ARC Powercell
- • ARC Alloy
- • ARC Circuitry
- • Destroy: +1000
- • Scavenge Core: +1000
- • Scavenge Leg: +500
Damage to youMortars, lasers and close-range pulses — each deals a decent chunk of damage, and the volume of fire is what kills.
- • Shoot armor plates first, then target exposed core
- • Deadline effective on head/core
- • Team effort recommended
Queen
SizeBoss
Threatextreme
Health33,864
Armorheavy
Damage to you:Mortars, lasers and close-range pulses — each deals a decent chunk of damage, and the volume of fire is what kills.
Drops
- • Queen Reactor
- • Advanced ARC Powercell
- • ARC Alloy
XP: 2500
- • Shoot armor plates first, then target exposed core
- • Deadline effective on head/core
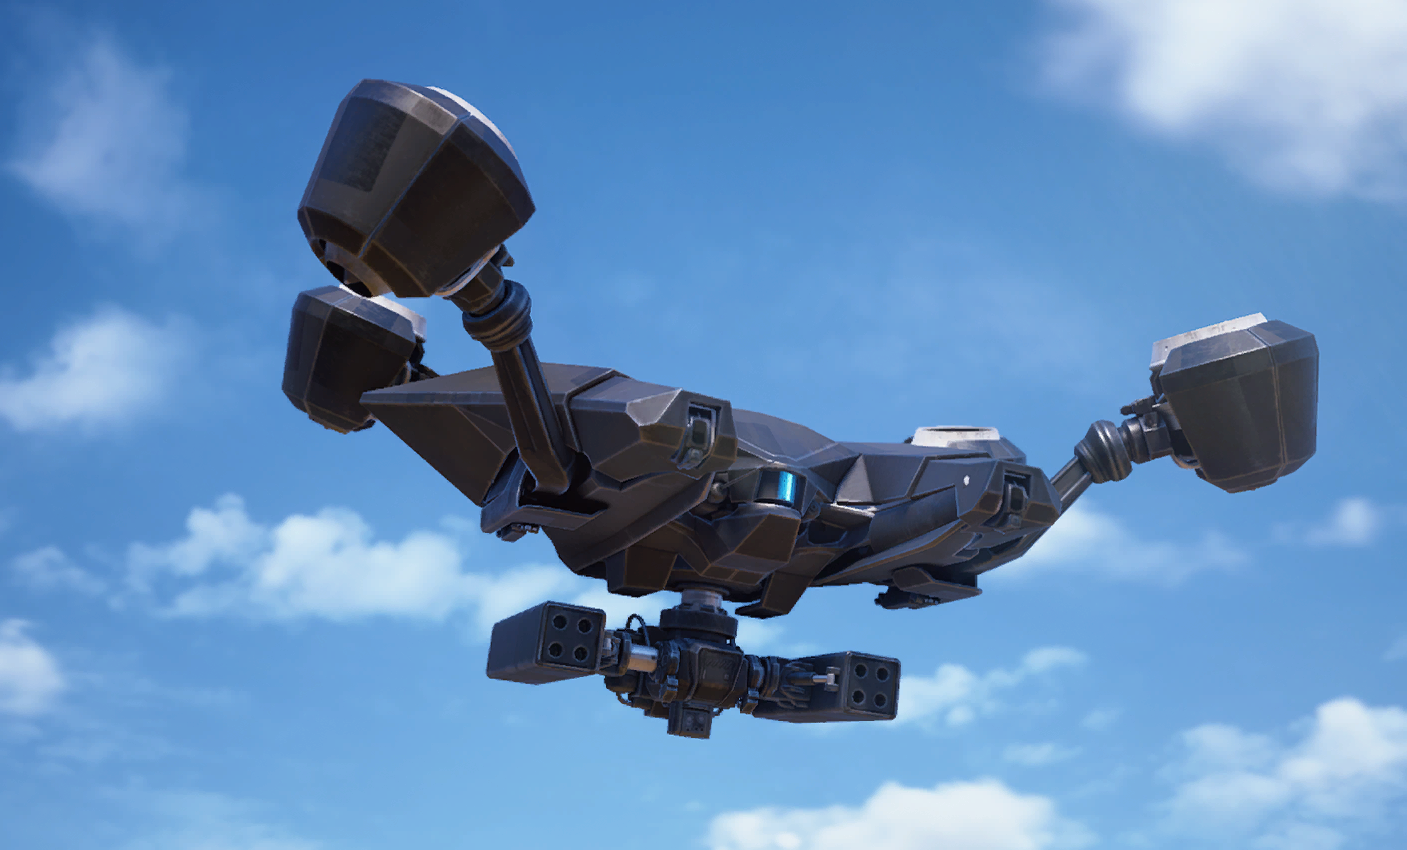
SizeLarge
Threatcritical
Health1,100
Armorheavy
- • Rocketeer Driver
- • ARC Powercell
- • Launcher Ammo
- • ARC Alloy
- • Destroy: +500
- • Scavenge Chassis: +600
- • Scavenge Thruster: +500
Damage to youEach tracking missile hits hard — can down a Raider in as few as two hits, and splash reaches behind cover.
- • Two Wolfpack Grenades are effective
- • Grounded Rocketeers eventually burst into flames
- • Rocket splash damages behind cover — keep moving
Rocketeer
SizeLarge
Threatcritical
Health1,100
Armorheavy
Damage to you:Each tracking missile hits hard — can down a Raider in as few as two hits, and splash reaches behind cover.
Drops
- • Rocketeer Driver
- • ARC Powercell
- • Launcher Ammo
XP: 1600
- • Two Wolfpack Grenades are effective
- • Grounded Rocketeers eventually burst into flames
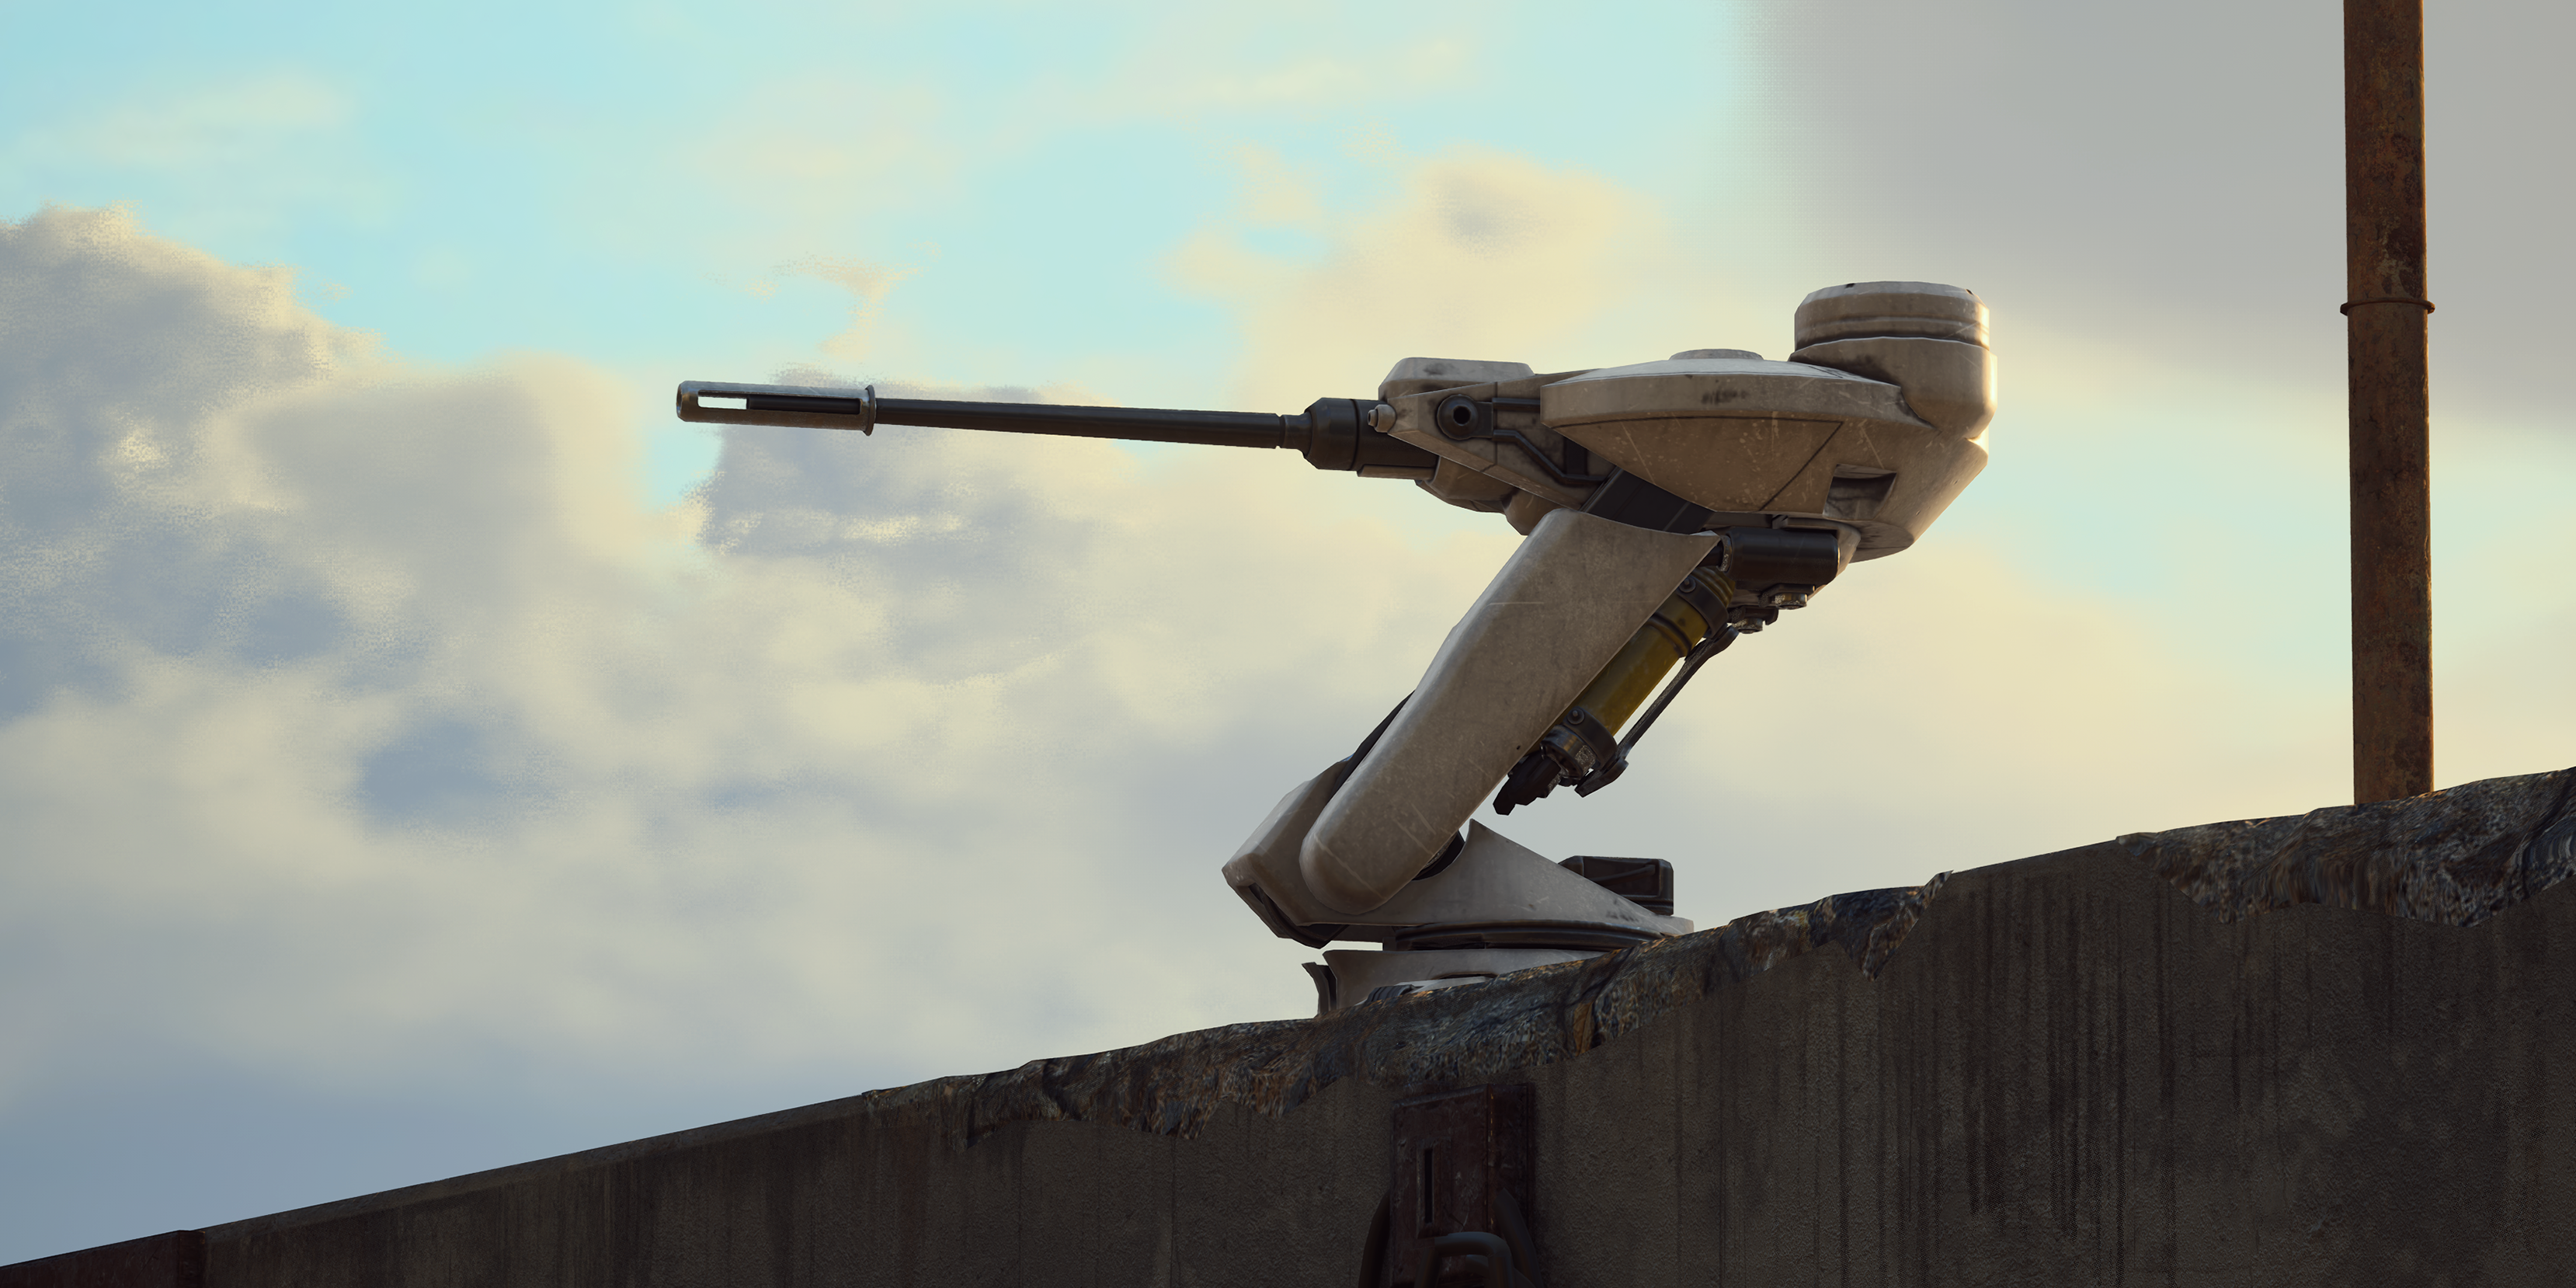
SizeMedium
Threathigh
Health300
Armorlight
- • Sentinel Firing Core
- • Heavy Ammo
- • ARC Alloy
- • Simple Gun Parts
- • Destroy: +200
- • Scavenge Chassis: +300
Damage to youA single high-velocity heavy round deals major damage — treat each shot as potentially lethal.
- • Four converging yellow beams = about to fire — dodge roll or slide into cover
- • Good source of Heavy Ammo
Sentinel
SizeMedium
Threathigh
Health300
Armorlight
Damage to you:A single high-velocity heavy round deals major damage — treat each shot as potentially lethal.
Drops
- • Sentinel Firing Core
- • Heavy Ammo
- • ARC Alloy
XP: 500
- • Four converging yellow beams = about to fire — dodge roll or slide into cover
- • Good source of Heavy Ammo
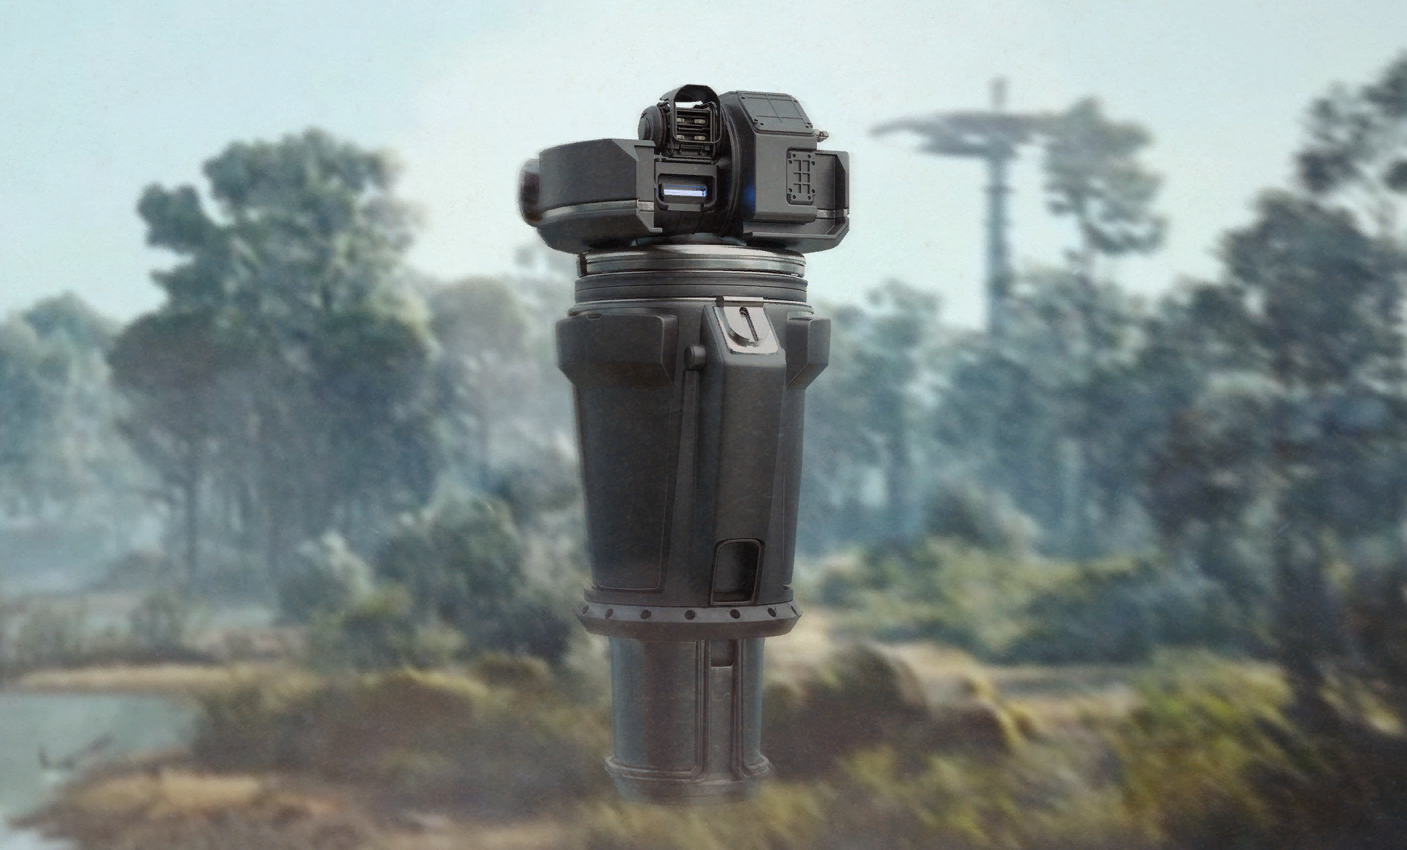
SizeMedium
Threathigh
Health385
Armorheavy
- • Shredder Gyro
- • Shotgun Ammo
- • ARC Powercell
- • ARC Alloy
- • Destroy: +200
- • Scavenge Core: +250
Damage to youHeavy area damage from its all-directions shrapnel bursts — never fight it without cover.
- • Never engage without cover
- • Jolt Mine in doorways stuns it
- • Explosives effective during charge sequence
Shredder
SizeMedium
Threathigh
Health385
Armorheavy
Damage to you:Heavy area damage from its all-directions shrapnel bursts — never fight it without cover.
Drops
- • Shredder Gyro
- • Shotgun Ammo
- • ARC Powercell
XP: 450
- • Never engage without cover
- • Jolt Mine in doorways stuns it

SizeMedium
Threatmoderate
Health158
ArmorNone
- • Snitch Scanner
- • ARC Powercell
- • ARC Alloy
- • ARC Synthetic Resin
- • Destroy: +100
- • Scavenge Core: +200
Damage to youDeals no damage itself — but the reinforcements it summons will, so kill it fast.
- • Kill quickly before it summons reinforcements
- • Hiding in heavy foliage may avoid scanner detection
Snitch
SizeMedium
Threatmoderate
Health158
ArmorNone
Damage to you:Deals no damage itself — but the reinforcements it summons will, so kill it fast.
Drops
- • Snitch Scanner
- • ARC Powercell
- • ARC Alloy
XP: 300
- • Kill quickly before it summons reinforcements
- • Hiding in heavy foliage may avoid scanner detection
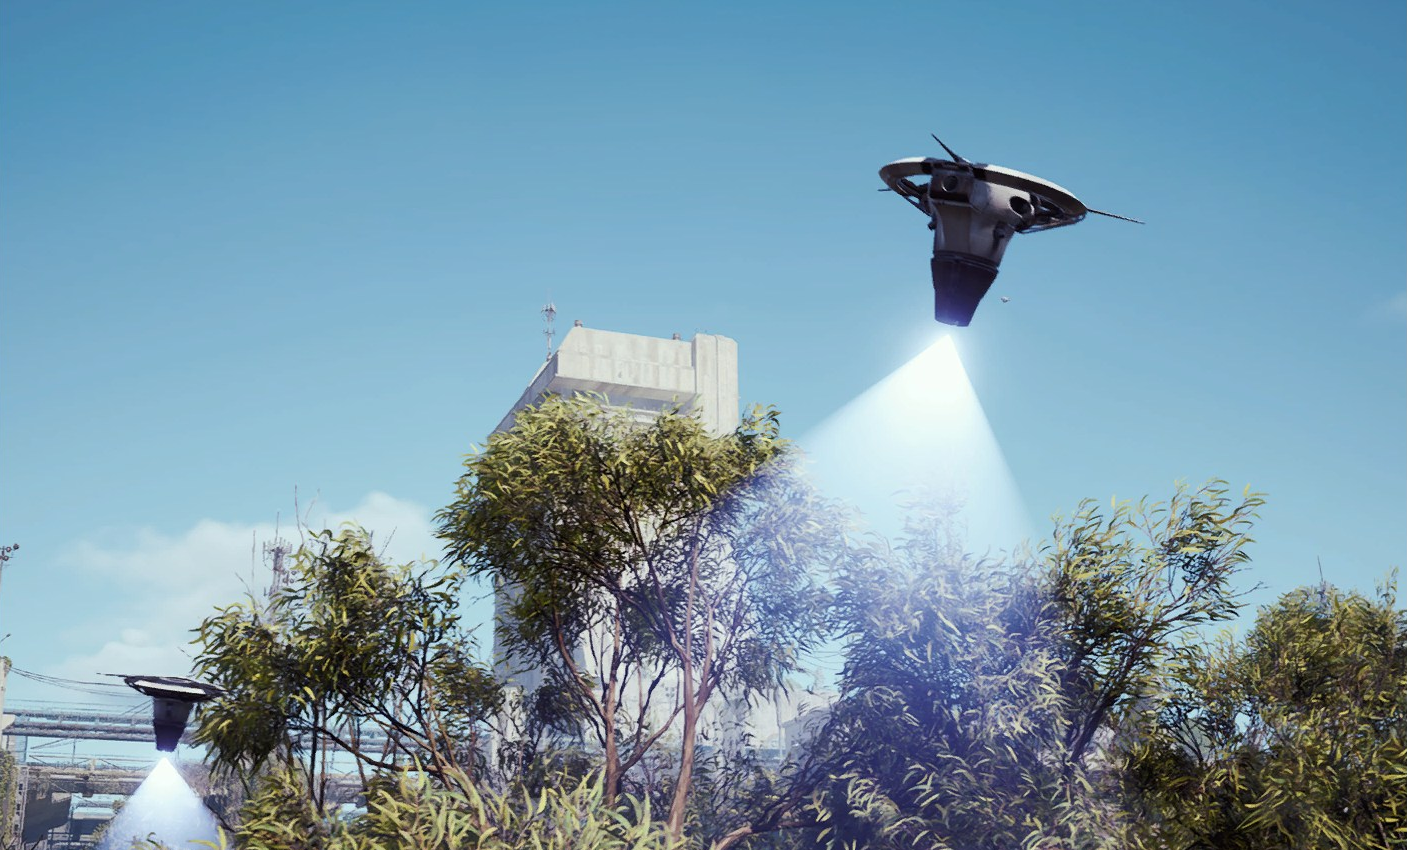
SizeMedium
Threathigh
Health80
ArmorNone
- • Spotter Relay
- • ARC Powercell
- • ARC Alloy
- • ARC Synthetic Resin
- • Destroy: +100
- • Scavenge Core: +200
Damage to youNo direct damage — it paints you with a laser so the Bombardier's mortars can land on you.
- • Kill the Bombardier first — Spotters flee when their Bombardier is destroyed
- • Seeker Grenades most effective
Spotter
SizeMedium
Threathigh
Health80
ArmorNone
Damage to you:No direct damage — it paints you with a laser so the Bombardier's mortars can land on you.
Drops
- • Spotter Relay
- • ARC Powercell
- • ARC Alloy
XP: 300
- • Kill the Bombardier first — Spotters flee when their Bombardier is destroyed
- • Seeker Grenades most effective
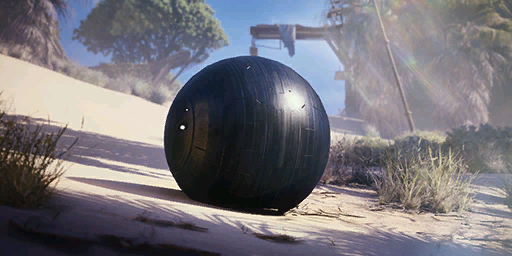
SizeMedium
Threatlow
Health257
Armorheavy
- • Surveyor Vault
- • ARC Powercell
- • ARC Alloy
- • Mechanical Components
- • Destroy: +200
- • Scavenge Core: +300
- • Scavenge Shell: +100
Damage to youOnly a ramming attack if you corner it — a moderate amount of damage; mostly it just flees.
- • Stun with Hornet Driver or Showstopper while core exposed
- • Armor panels break off and can be looted individually
Surveyor
SizeMedium
Threatlow
Health257
Armorheavy
Damage to you:Only a ramming attack if you corner it — a moderate amount of damage; mostly it just flees.
Drops
- • Surveyor Vault
- • ARC Powercell
- • ARC Alloy
XP: 600
- • Stun with Hornet Driver or Showstopper while core exposed
- • Armor panels break off and can be looted individually
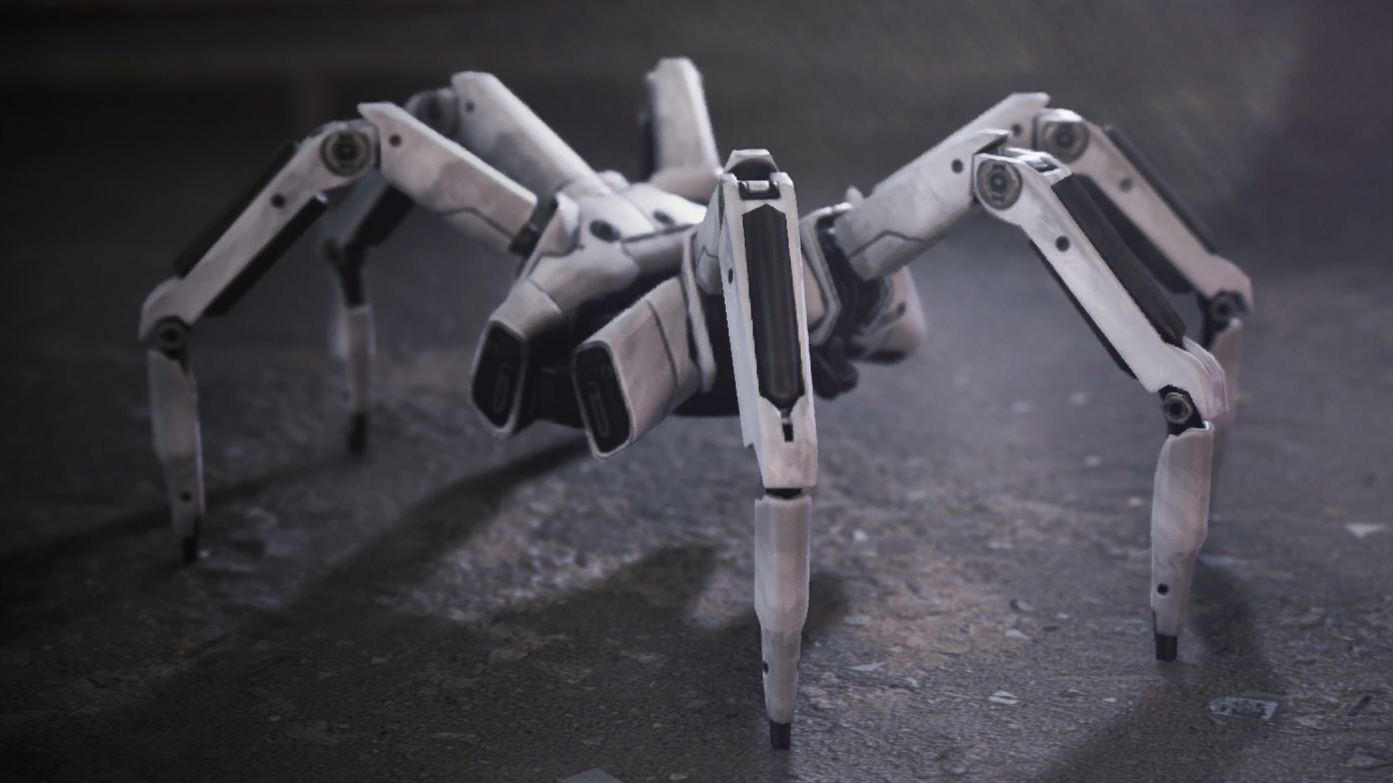
SizeSmall
Threatlow
Health10
ArmorNone
- • Tick Pod
- • ARC Powercell
- • ARC Alloy
- • ARC Flex Rubber
- • Destroy: +50
- • Scavenge Core: +100
Damage to youSlowly drains health and shield while latched on — low burst, but a distraction in a fight.
- • Listen for robotic shuffling sound to detect before they jump
- • Check ceilings in indoor areas
Tick
SizeSmall
Threatlow
Health10
ArmorNone
Damage to you:Slowly drains health and shield while latched on — low burst, but a distraction in a fight.
Drops
- • Tick Pod
- • ARC Powercell
- • ARC Alloy
XP: 150
- • Listen for robotic shuffling sound to detect before they jump
- • Check ceilings in indoor areas
- • Turbine Compressor
- • ARC Alloy
- • Advanced ARC Powercell
- • ARC Coolant
- • Destroy: +700
- • Scavenge Core: +700
- • Scavenge Shell: +200
Damage to youCluster lightning deals very high damage and stuns: one strike breaks a shield and takes about half your health. Distance is your safety (out of reach past ~150–200m).
- • Don't engage while it's airborne — defenses are nearly impenetrable
- • It lands only when NOT being actively shot — hold fire to bait it down, then hammer the exposed yellow core
- • Passive until provoked: it aggros on being shot, on you being exposed in its targeting radius, or on tripping one of its mines
- • To de-aggro, stop firing and break line of sight inside a closed building
- • Don't climb on top — the top surface burns you and is NOT a weak point
- • Keep moving — it continues firing cluster lightning from the ground
- • Watch your footing — proximity mines linger after the spray (you can shoot them from range to clear a lane)
- • Photoelectric Cloak works against its lightning since 1.42.0 — the confirmed escape tool when no building is near

TurbineFull guide →
SizeBoss
Threatcritical
Health4,000
Armorheavy
Damage to you:Cluster lightning deals very high damage and stuns: one strike breaks a shield and takes about half your health. Distance is your safety (out of reach past ~150–200m).
Drops
- • Turbine Compressor
- • ARC Alloy
- • Advanced ARC Powercell
XP: 1600
- • Don't engage while it's airborne — defenses are nearly impenetrable
- • It lands only when NOT being actively shot — hold fire to bait it down, then hammer the exposed yellow core
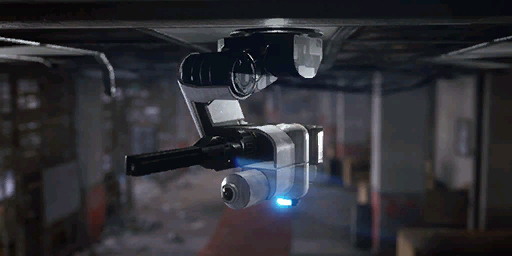
SizeMedium
Threatmoderate
Health80
ArmorNone
- • Light Ammo
- • ARC Powercell
- • ARC Alloy
- • Simple Gun Parts
- • Destroy: +100
- • Scavenge: +200
Damage to youConstant bullet stream deals moderate damage — but it stacks up fast if you stay exposed.
- • Scanner emits visible light — observe sweep pattern to avoid triggering
- • Quick peek and shoot
Turret
SizeMedium
Threatmoderate
Health80
ArmorNone
Damage to you:Constant bullet stream deals moderate damage — but it stacks up fast if you stay exposed.
Drops
- • Light Ammo
- • ARC Powercell
- • ARC Alloy
XP: 300
- • Scanner emits visible light — observe sweep pattern to avoid triggering
- • Quick peek and shoot
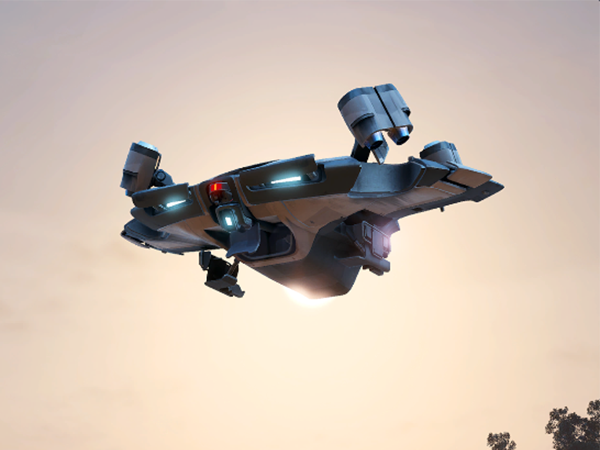
SizeLarge
Threatcritical
Health1,500
Armorlight
- • Vaporizer Regulator
- • Advanced ARC Powercell
- • ARC Alloy
- • ARC Circuitry
- • Destroy: +500
- • Scavenge Core: +500
Damage to youIts line-of-sight laser strips shields and leaves burning fire pools underfoot — deadly in a group.
- • Don't use seeking grenades — triggers energy shield
- • Focus thruster turbines first, then belly core
- • Appears in groups — don't engage multiple at once
- • High-ground positions help for hitting weak spots
Vaporizer
SizeLarge
Threatcritical
Health1,500
Armorlight
Damage to you:Its line-of-sight laser strips shields and leaves burning fire pools underfoot — deadly in a group.
Drops
- • Vaporizer Regulator
- • Advanced ARC Powercell
- • ARC Alloy
XP: 1000
- • Don't use seeking grenades — triggers energy shield
- • Focus thruster turbines first, then belly core

SizeMedium
Threatmoderate
Health110
ArmorNone
- • Wasp Driver
- • ARC Powercell
- • Light Ammo
- • ARC Alloy
- • Destroy: +100
- • Scavenge Chassis: +200
Damage to youRapid-fire volleys can shred even a tough Raider shield in seconds if you sit in the open.
- • Good source of Light Ammo
- • Lure Grenades help escape swarms
Wasp
SizeMedium
Threatmoderate
Health110
ArmorNone
Damage to you:Rapid-fire volleys can shred even a tough Raider shield in seconds if you sit in the open.
Drops
- • Wasp Driver
- • ARC Powercell
- • Light Ammo
XP: 300
- • Good source of Light Ammo
- • Lure Grenades help escape swarms